POINT CLIENTS TO THE NEW/TARGET SERVER
This section describes how to point the existing clients to the new target server.

POINTING SYSTEM GALAXY CLIENTS (ODBC) TO NEW SERVER
The ODBC32 Data Source connections must be updated on all System Galaxy Client workstations with the machine name of the new server.
-
Open the ODBC32 Data Source Administrator app (You can find the app by typing ODBC into the Search field of the Windows Taskbar.)
-
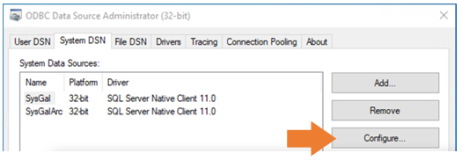
Select the System DSN tab.
-
Select (highlight) the SysGal ODBC name and click Configure button.
-
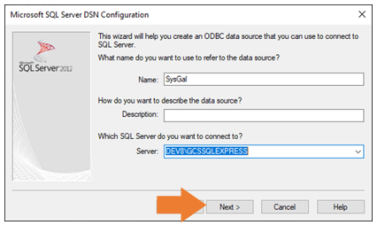
In the Server droplist choose the Machine\Instance and click Next button.
-
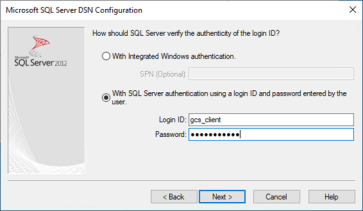
In the client login screen, enter the gcs_client login and password and click the Next button.
-
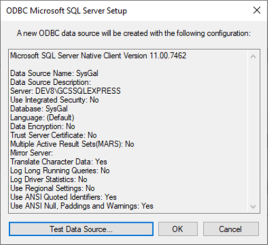
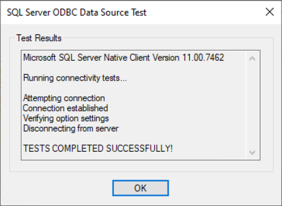
Click the [Test Data Source] button.
-
Click OK to accept the Success confirmation.
-
Repeat these steps for SysGalArc ODBC database connection.
POINTING IDPRODUCER WEB CLIENTS TO THE NEW SERVER
All idProducer Web Clients are still pointed to the original server and must be provided with the new IP Address of the new server.
ASSUMPTIONS …
-
The idProducer Connector service is running on the client workstation.
-
Go to each client computer where the idProducer client software is installed.
-
Open the idProducer Configuration app. (You can find the app from the Search field of the Windows Taskbar.)
-
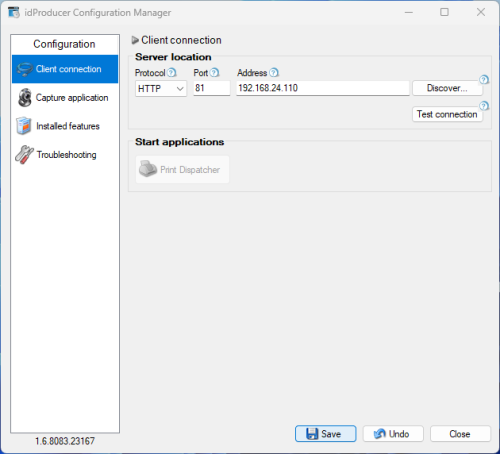
The idProducer Configuration app will open to the Client Connection screen.
-
Enter the IP Address of the new target server. (Or click Discover and select the IP Address from the list.).
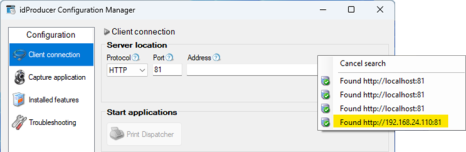
Configuration Manager: Client Connection screen
-
Select the Troubleshooting screen, and make sure the Connector Service is started.
-
Select the Client Connection screen, click Test Connection button.
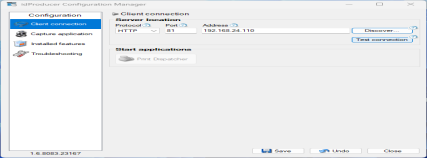
Configuration Manager: Client Connection screen
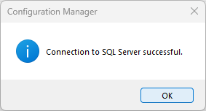
-
Click OK to close connection successful message.
-
Click SAVE on the Client Connection screen to save the new server address.
Configuration Manager: Client Connection screen
-
Repeat these steps at each idProducer client workstation.